Article Plan: Intex Swimming Pool Vacuum Instructions
This comprehensive guide details connecting and troubleshooting Intex pool vacuums, addressing common issues like suction loss and pump filtering problems, especially for new pool owners.
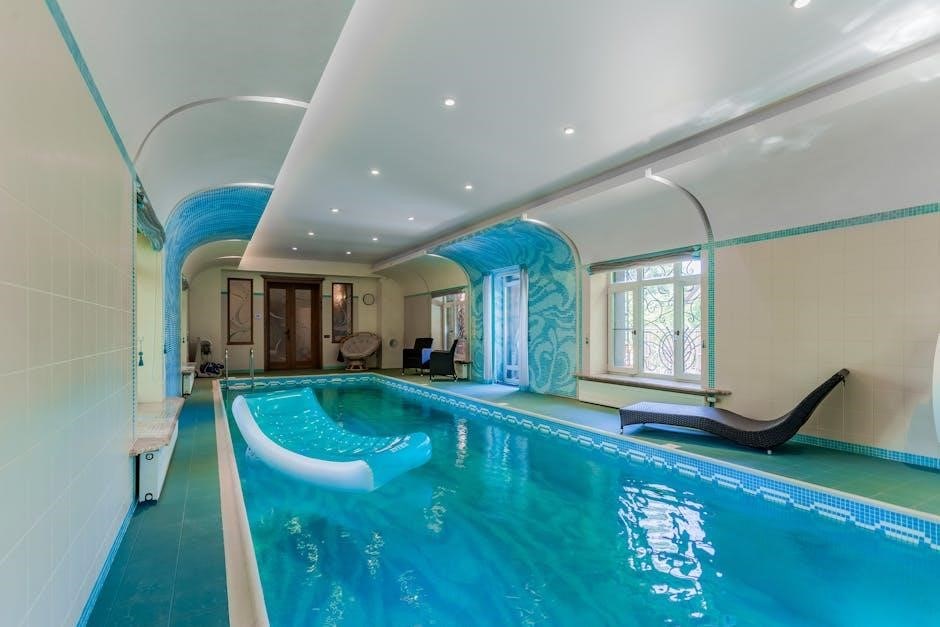
Intex pool vacuums offer a convenient way to maintain a clean and enjoyable swimming experience. Whether you’ve just set up a new 12x24x52 Intex rectangular pool, or have had one for years, understanding how to properly utilize your vacuum system is crucial. Many new pool owners, as seen in online forums, encounter difficulties getting their vacuums to function correctly alongside their sand pumps.
This guide focuses on Intex vacuum systems, providing detailed instructions and troubleshooting advice. We’ll cover everything from understanding the different types of Intex vacuums available – manual, robotic, and automatic – to ensuring compatibility with your existing sand pump. Proper vacuuming not only enhances the aesthetic appeal of your pool but also contributes to improved water hygiene and overall pool health.
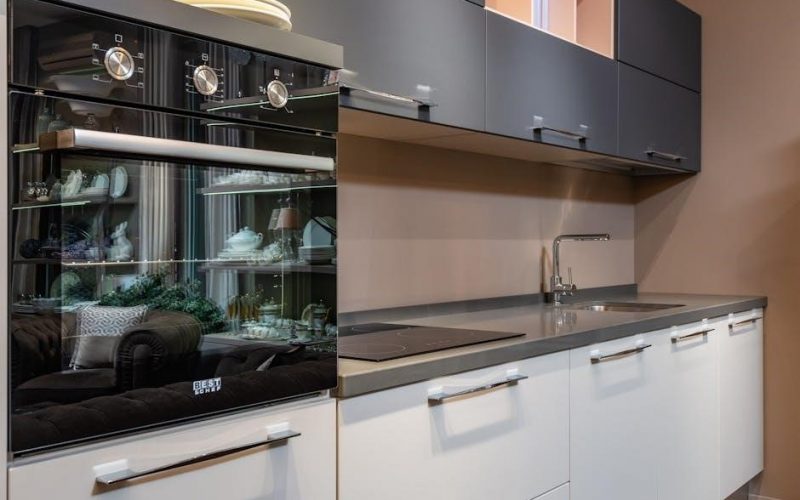
Types of Intex Pool Vacuums
Intex offers a range of pool vacuum solutions to suit various needs and budgets. These broadly fall into three categories: manual vacuum systems, robotic pool cleaners, and automatic suction-side cleaners. Manual vacuums, often the most affordable option, require direct operation and connection to your pool’s filtration system – typically a sand pump.
Robotic cleaners are independent units that scrub and filter the pool autonomously, offering convenience but at a higher price point. Automatic suction-side cleaners also connect to your pump but navigate the pool independently, relying on suction for cleaning. Choosing the right type depends on your pool size, cleaning frequency preferences, and desired level of automation.
2.1 Manual Vacuum Systems
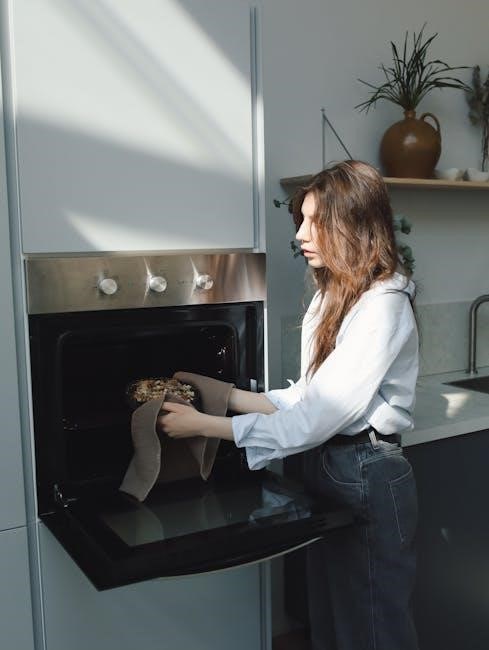
Manual Intex pool vacuum systems are a popular choice for their affordability and simplicity. These systems require the user to physically guide the vacuum head across the pool floor and walls. They operate by connecting a vacuum hose to the pool’s skimmer or a dedicated vacuum port, utilizing the sand pump’s suction to draw debris from the pool.

While requiring more effort than automatic options, manual vacuums offer precise cleaning control. New pool owners often start with these systems due to their lower cost and ease of understanding the basic pool circulation process. Effective operation relies on proper priming of the hose and a strong, consistent pump flow.
2.2 Robotic Pool Cleaners
Intex robotic pool cleaners represent a significant leap in convenience. These self-contained units navigate your pool independently, scrubbing and vacuuming floors, walls, and even the waterline. Powered by their own motors and filters, they don’t rely on the pool’s pump and filter system, offering energy efficiency and reduced strain on your primary equipment.
Robotic cleaners often feature programmable cleaning cycles and advanced sensors to avoid obstacles. While a higher initial investment, they save considerable time and effort. They are particularly beneficial for larger pools or those seeking a truly hands-off cleaning solution, eliminating the need for hose connections and manual operation.
2.3 Automatic Suction-Side Cleaners
Intex automatic suction-side cleaners offer a middle ground between manual and robotic options. These cleaners connect to your pool’s skimmer or a dedicated vacuum port and utilize the existing sand pump’s suction power to move around and collect debris. They are generally more affordable than robotic cleaners, yet still provide automated cleaning functionality.
Suction-side cleaners require the pool pump to be running during operation. Their cleaning path is often less sophisticated than robotic models, but they effectively remove leaves, dirt, and small particles. Regular inspection of the cleaner’s wheels and throat is crucial for optimal performance, ensuring smooth movement and preventing clogs.
Understanding Your Intex Sand Pump & Vacuum Compatibility
Ensuring compatibility between your Intex sand pump and vacuum is vital for effective cleaning. Most Intex sand pumps are designed to work with the brand’s manual vacuum systems and suction-side cleaners. However, pump size matters; a larger pool requires a pump with greater flow rate to power the vacuum effectively.
Check your pump’s specifications to confirm its gallons-per-minute (GPM) flow rate. Insufficient flow can lead to poor suction and an inability to pick up debris. Newer pumps often have dedicated vacuum ports, simplifying connection. If using the skimmer, ensure the skimmer basket isn’t overly full, hindering suction.
Parts of an Intex Manual Vacuum System

A typical Intex manual vacuum system comprises several key components. The vacuum head, usually plastic, glides along the pool floor, collecting debris. It connects to the vacuum hose, a flexible tube transmitting suction. The hose length varies, impacting reach.
Connection is made either through the pool’s skimmer – utilizing the pump’s existing filtration system – or a dedicated vacuum port, offering a direct line to the pump. Some systems include a vacuum plate to aid in skimmer connection. Understanding each part’s function is crucial for proper assembly and efficient pool cleaning.

4.1 Vacuum Head
The Intex vacuum head is the primary debris collection component. Typically constructed from durable plastic, its design allows it to effectively glide across the pool’s surface, dislodging and sucking up leaves, dirt, and algae. Many models feature weighted designs to maintain contact with the pool floor;
Inspect the vacuum head regularly for cracks or damage, as these can reduce suction power. Some heads have wheels for easier maneuverability. Proper maintenance, including rinsing after each use, extends its lifespan. Ensuring a secure connection between the head and the hose is vital for optimal performance.
4.2 Vacuum Hose
The Intex vacuum hose is crucial for transferring debris from the vacuum head to the pump. These hoses are generally made of flexible plastic, designed to withstand constant water flow and outdoor conditions. Length varies, but sufficient reach is essential for covering the entire pool area without strain.
Regularly check the hose for kinks, cracks, or holes, as these significantly reduce suction. Air leaks are a common issue, hindering vacuum performance. Proper storage when not in use – avoiding direct sunlight – prevents deterioration. Securely attaching the hose to both the vacuum head and the skimmer/vacuum port is paramount for effective cleaning.
4.3 Skimmer or Dedicated Vacuum Port
Intex pools utilize either the skimmer or a dedicated vacuum port for connecting the vacuum hose. The skimmer is the standard opening for surface debris removal, and can be adapted for vacuuming by installing a skimmer plate or plug. A dedicated vacuum port, if present, offers a direct connection, often resulting in stronger suction.
Using the skimmer requires temporarily halting filter basket use. The vacuum port bypasses the filter basket, allowing direct suction. Ensure the selected port is clean and free of obstructions. Proper sealing around the hose connection is vital to prevent suction loss and maintain efficient pool cleaning.
Step-by-Step Instructions: Connecting the Manual Vacuum
Begin by ensuring your Intex sand pump is turned off. Attach the vacuum hose securely to the vacuum head. Next, prime the hose (detailed in section 5.1) to remove air, crucial for suction. Connect the primed hose to either the skimmer (5.2) or the dedicated vacuum port (5.3), ensuring a tight seal.
Turn the pump on to the “Filter” setting. Monitor for suction; if none, re-check connections and priming. Slowly move the vacuum head across the pool floor, overlapping each pass. Regularly empty the skimmer basket or debris bag if using the skimmer connection.
5.1 Priming the Vacuum Hose

Priming removes air from the vacuum hose, establishing necessary suction. Submerge the entire hose in the pool, holding one end down until all air bubbles cease. Alternatively, connect one end to the pump and the other to the skimmer/vacuum port, then turn the pump on briefly.
Watch for water to flow through the hose, indicating successful priming. If air persists, repeat the submersion or pump-assisted method. A fully primed hose will feel heavy with water. Proper priming is essential; a poorly primed hose results in weak suction and ineffective vacuuming.
5.2 Connecting to the Skimmer
To connect via the skimmer, first ensure the skimmer basket is empty. Attach the primed vacuum hose securely to the skimmer opening. Some skimmer baskets have a dedicated vacuum connection port; utilize this if available. If not, carefully insert the hose directly into the skimmer opening, ensuring a snug fit.
Turn on the pool pump. Initially, you might observe air bubbles escaping from the skimmer. Allow the pump to run for a few minutes to fully draw water through the system. Monitor the water flow; a strong, consistent flow confirms a successful connection.
5.3 Connecting to a Dedicated Vacuum Port
If your Intex pool features a dedicated vacuum port, this is the preferred connection method. Locate the port, typically found on the side of the pool wall near the return jets. Before connecting, ensure the pump is turned off. Firmly insert the primed vacuum hose into the vacuum port opening, often requiring a twisting motion to secure it.
Many ports have a twist-lock mechanism; engage this to prevent disconnections during vacuuming. Turn the pump back on and observe for a strong suction. This method generally provides more efficient vacuuming compared to skimmer connections, minimizing strain on the pump.
Troubleshooting Common Vacuum Connection Issues
Experiencing problems with your Intex pool vacuum connection? Several issues can arise. Loss of suction is frequent – check for obstructions in the skimmer basket, pump strainer, or vacuum hose. Air leaks in the hose are also common; inspect connections and the hose itself for cracks or holes.
If the pump isn’t filtering while vacuuming, ensure the multi-port valve is correctly set to the “vacuum” position. A clogged filter can also reduce suction. Finally, verify the vacuum head is moving freely and isn’t stuck on the pool floor. Addressing these points will restore efficient cleaning.
6.1 Loss of Suction
Sudden suction loss during vacuuming is a common frustration. First, inspect the skimmer basket and pump strainer basket for debris – even partial blockages significantly reduce flow. Next, check the vacuum hose for kinks, bends, or collapses, hindering water passage.
Ensure all connections are secure and airtight. A partially closed valve on the filter system can also cause this. Finally, confirm the vacuum head isn’t stuck to the pool surface, preventing proper movement and suction. Addressing these areas systematically will usually restore adequate suction power.
6.2 Air Leaks in the Hose
Air entering the vacuum hose dramatically reduces suction efficiency. Carefully examine the entire length of the hose for cracks, punctures, or loose connections at the cuffs. A simple visual inspection often reveals the source.
Submerge sections of the hose to identify escaping bubbles, pinpointing leak locations. Tighten hose clamps securely, and if damage is found, consider patching small holes with a vinyl repair kit or replacing the hose entirely. Maintaining a tight seal is crucial for optimal vacuum performance and preventing strain on the pump.
6.3 Pump Not Filtering While Vacuuming
If your Intex sand pump isn’t filtering effectively during vacuuming, several factors could be at play; First, ensure the pump’s filter is clean; a clogged filter severely restricts water flow. Second, verify the multi-port valve is correctly positioned to “Filter” and not “Waste” or “Backwash”.
Insufficient water levels can also cause this issue, so top up the pool if needed. Check for obstructions in the skimmer basket or pump strainer basket. Finally, a partially closed valve somewhere in the system might be hindering flow – inspect all valves for proper settings.
Maintaining Your Intex Pool Vacuum

Regular maintenance extends the life of your Intex pool vacuum and ensures optimal performance. After each use, thoroughly rinse the vacuum head to remove debris and prevent buildup. Inspect the vacuum hose for cracks, tears, or kinks; replace it if damaged.
Periodically check the connections for tightness to avoid air leaks. Store the vacuum in a dry place when not in use, away from direct sunlight. Cleaning the filter basket regularly will also help maintain suction power. Proper care prevents costly repairs and keeps your pool sparkling clean!
7.1 Cleaning the Vacuum Head
A clean vacuum head is crucial for effective debris removal. After each vacuuming session, disconnect the vacuum head and inspect it for accumulated leaves, dirt, and small stones. Rinse thoroughly with a garden hose, paying attention to the wheels and any crevices where debris might lodge.

For stubborn buildup, a mild soap solution can be used, ensuring it’s completely rinsed away before reassembly. Regular cleaning prevents clogging and maintains optimal suction. Inspect the head for any physical damage, like cracks, and address them promptly to avoid further issues.
7.2 Inspecting the Hose for Damage
Regularly examine the vacuum hose for cracks, kinks, or punctures. These can significantly reduce suction and introduce air leaks, hindering the vacuum’s performance. Run your hand along the entire length of the hose, feeling for any abnormalities. Pay close attention to the connection points, as these are prone to wear and tear.
Small cracks can often be temporarily repaired with waterproof tape, but severely damaged sections require replacement. A damaged hose compromises the entire vacuum system’s efficiency. Promptly address any issues to maintain optimal cleaning power and prevent further damage to the pump.
Winterizing Your Intex Pool Vacuum
Proper winterization protects your Intex pool vacuum from freezing temperatures. Begin by completely disconnecting the vacuum from the pump and skimmer. Thoroughly clean the vacuum head and hose, removing all debris and sediment. Allow all components to dry completely before storing.
Store the vacuum indoors in a dry, climate-controlled environment, away from direct sunlight and extreme temperatures. Inspect the hose for any damage before storage, replacing it if necessary. Coiling the hose loosely prevents cracking. This careful preparation ensures your vacuum is ready for use when swimming season returns.
Safety Precautions When Using an Intex Pool Vacuum
Always disconnect the pump from the power source before handling or inspecting the vacuum system. Never operate the vacuum if the hose is damaged or leaking, as this poses an electrical hazard. Supervise children closely when the vacuum is in use, preventing them from playing with the equipment.
Avoid prolonged submersion of the pump’s motor. Ensure proper grounding to prevent electric shock. Do not use the vacuum during thunderstorms. Regularly inspect all connections for tightness and integrity. Prioritize safety to enjoy a clean and worry-free pool experience.